Lead sites are the core of Proquiro — each one represents a land parcel your team is evaluating or negotiating. Here’s how to add your first one.
Create a new lead
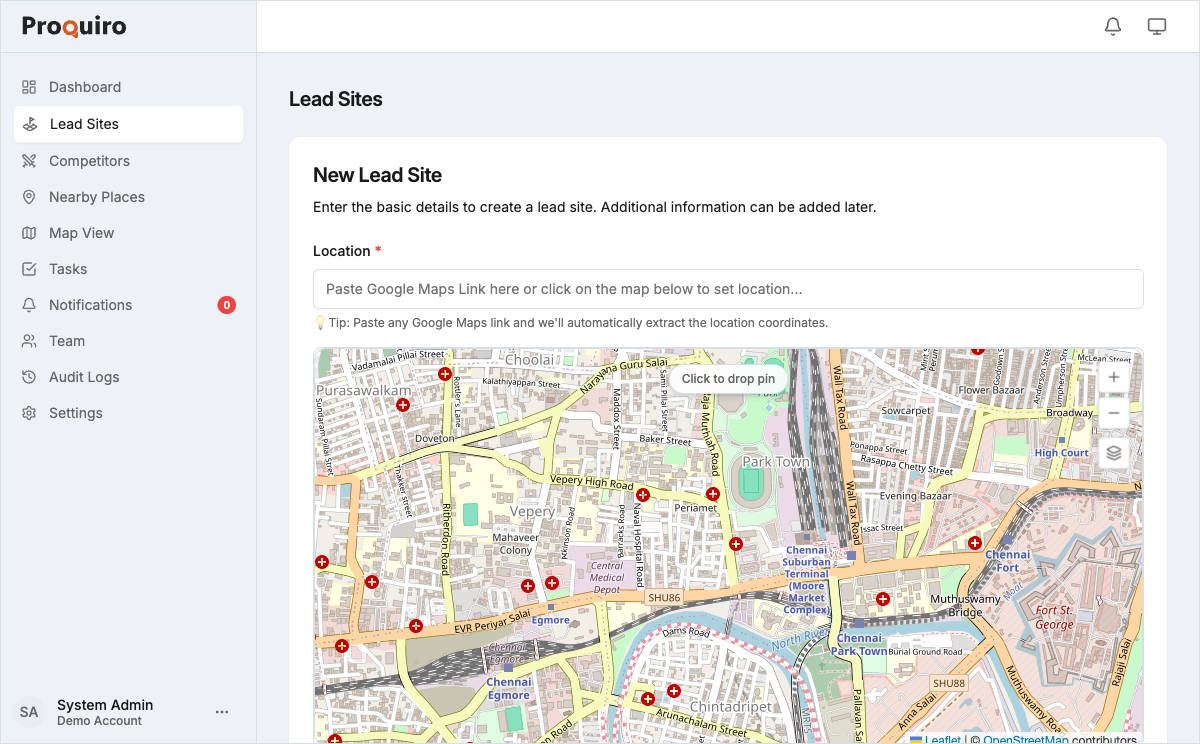
To add a new lead site, tap the floating action button (the round button at the bottom-right of the screen) and select Lead Site. You can also start from the Lead Sites page.
Tip: If you’re out in the field, create the lead right from your phone — the location picker will use your GPS to drop a pin automatically.
Required fields
- Site Name — Give it something descriptive you’ll recognize later (e.g., “Kengeri 4-acre plot near ring road” beats “Site 47”)
- Location — Use the location picker to pin the site on the map, or type in the address manually
Optional fields
These aren’t mandatory, but filling them in now saves you from hunting down details later:
- Area — Total area of the site (in acres, sq. ft., or other units)
- Survey Number — The government survey number for the land parcel, useful for quick lookups
- Owner Details — Name and contact information for the landowner
- Notes — Any initial observations, access directions, or context worth remembering
Importing multiple leads at once
If you have a spreadsheet of sites to add, you can import leads in bulk instead of creating them one by one. The import supports Excel files with automatic location detection from Google Maps URLs.
After creation
Once you create a lead, it starts in the Inquiry status. From here, you can:
- Assign it to a team member so nothing falls through the cracks
- Upload supporting documents (title deeds, survey maps, photos)
- Add competitor sightings nearby to track the competitive landscape
- Create follow-up tasks with deadlines
- Update its status as negotiations progress
Tip: Assign the lead and create a follow-up task right away — leads that sit unassigned tend to go stale fast.
Who can create leads
All roles except Lead Assistant can create new leads. Lead Assistants can view and update existing leads assigned to their manager.